Repairing Minor Damage in Your Jewellery at Home
Table Of Contents
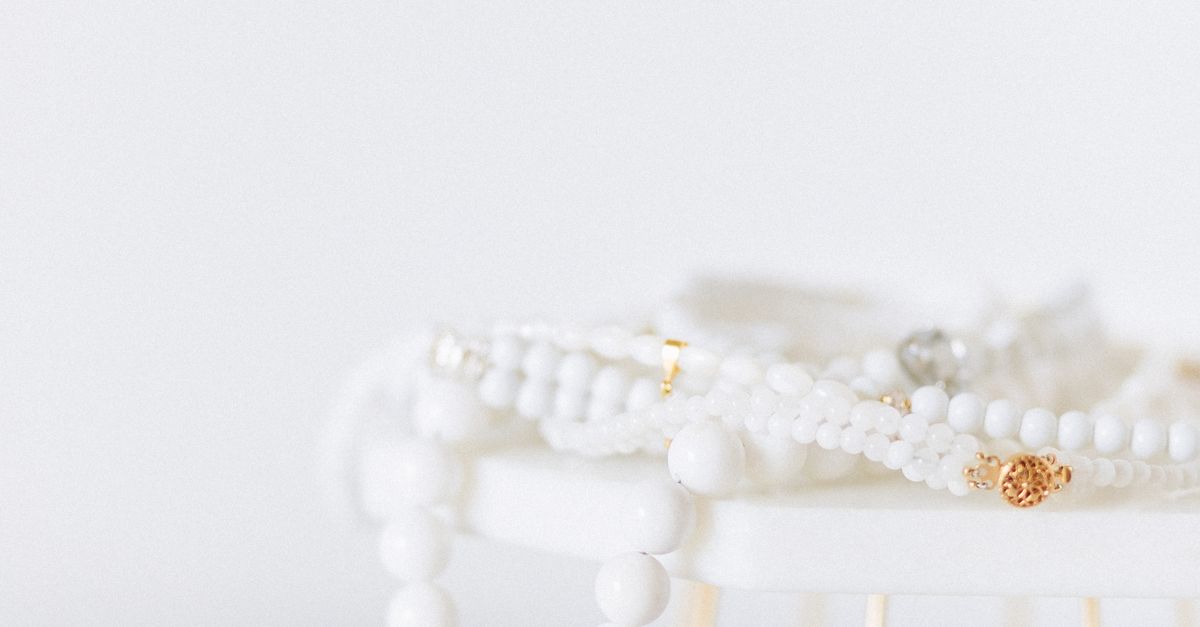
Replacing Broken Clasps
Broken clasps can render your jewellery unusable, making it essential to address this problem promptly. Various types of clasps are available, such as spring rings, lobster clasps, and magnetic clasps. Before you start the replacement process, identify the type of clasp on your item to ensure you purchase the correct replacement. A well-matched clasp will restore functionality and maintain the overall aesthetic of your jewellery.
When replacing a clasp, gather your tools, including pliers, wire cutters, and perhaps a small jump ring if your new clasp requires attachment. Carefully remove the broken clasp using the wire cutters, ensuring not to damage the surrounding links. Attach the new clasp by connecting it to the chain or pendant using a jump ring if necessary. Close the jump ring securely with the pliers, making sure everything is aligned properly. Your jewellery should be ready to wear once again.
Step-by-Step Guide to Clasp Replacement
Start by gathering your materials. You will need a new clasp, pliers, wire cutters, and a small jump ring if necessary. Carefully examine the existing clasp and determine how it is attached to the jewellery piece. This may involve removing a jump ring or unscrewing a connector. Take your time to ensure you do not damage surrounding components while working on the clasp.
Once you have removed the broken clasp, attach the new one in the same way. Use pliers to secure it tightly, ensuring that it is not too loose or too tight, which could affect the functionality. If you are using a jump ring, ensure it is properly closed to avoid future disconnection. Inspect your work to confirm that the clasp functions smoothly before putting the jewellery back into use.
Managing Tarnished Metal
Tarnished metal can detract from the beauty of your jewellery, but there are simple methods to restore its shine. A common solution involves using a mixture of baking soda and water. Creating a paste with these two ingredients can effectively lift tarnish from silver pieces. Gently rub the paste onto the tarnished areas with a soft cloth or sponge. This method is safe for most metals and usually leaves your jewellery looking polished.
Another effective technique is to use commercial metal polish specifically designed for jewellery. Following the manufacturer's instructions will yield the best results. Apply a small amount of polish onto a clean cloth and work it into the metal in a circular motion. This approach not only removes tarnish but also adds a protective layer that helps keep your jewellery looking fresh for longer. Regular maintenance can prevent significant tarnishing, ensuring your pieces remain brilliant and enjoyable to wear.
DIY Solutions for Restoring Shine
Tarnished jewellery can often lose its initial sparkle, but with some simple DIY methods, you can restore its shine. A mixture of baking soda and water forms a paste that can effectively clean metal surfaces. Apply the paste to the tarnished areas gently using a soft cloth or sponge. This technique works well on silver and other metals, helping to lift off the tarnish without scratching the surface.
For more delicate items or specific types of jewellery, white vinegar and baking soda can be a practical solution. Create a soaking solution by mixing a cup of vinegar with two tablespoons of baking soda. Allow the jewellery to soak for a few hours before rinsing it with water and drying it with a soft cloth. This method is particularly beneficial for minor tarnishing and will help revive the lustre of your treasured pieces without needing professional cleaning.
Soldering Minor Breaks
Soldering can be an effective method for repairing minor breaks in jewellery, providing a strong bond that reinstates the integrity of the piece. A soldering iron, along with solder suitable for the specific metal, is essential for this process. The first step involves cleaning the area around the break to ensure proper adhesion. Using a file or sandpaper, carefully remove any old solder or tarnish, exposing the bare metal for optimal results.
Once the surface is prepared, position the broken pieces together and apply flux to assist the flow of solder. Heat the soldering iron and touch it to the joint, allowing the solder to melt and fill the gap. It’s important to control the heat precisely to avoid damaging gemstones or other components in the jewellery. After allowing the piece to cool, any excess solder can be trimmed or polished for a neat finish.
Basic Soldering Techniques for Jewellery
Understanding the fundamentals of soldering is essential for anyone looking to tackle minor repairs in jewellery. Begin by gathering the necessary tools, including a soldering iron, solder, flux, and a suitable work surface to protect against heat. Safety should be a priority; wearing protective eyewear and ensuring your workspace is well-ventilated will minimize risks. To start a soldering project, clean the surfaces that need to be joined. Removing any tarnish or debris will help create a strong bond once the solder is applied.
Heating the soldering iron properly is crucial. Aim for a temperature that allows the solder to melt but does not damage the metal pieces being repaired. Apply a small amount of flux to the joint area. Place the solder against the joint while applying heat to the connection. The solder should flow into the joint, effectively bonding the pieces together. Allow the assembly to cool completely before handling it. This will ensure that the solder sets properly for lasting durability in the repair.
FAQS
Can I replace a broken clasp on my own?
Yes, replacing a broken clasp is a manageable task for most people, and the article provides a step-by-step guide to help you through the process.
What are some DIY solutions for managing tarnished metal?
The article outlines several effective DIY solutions, such as using baking soda and vinegar or a dedicated metal polish, to restore the shine to your tarnished jewellery.
Is soldering minor breaks in jewellery safe for beginners?
While soldering does require some basic skills and safety precautions, the article offers basic soldering techniques that can help beginners successfully repair minor breaks.
What tools do I need for repairing my jewellery at home?
Essential tools for jewellery repair include pliers, a soldering iron, flux, solder, and cleaning cloths, which are mentioned in detail within the article.
How do I know if a repair is too complicated to do at home?
If the damage involves intricate designs, valuable materials, or requires specialised tools, it may be best to consult a professional jeweller rather than attempting the repair yourself.
Related Links
Understanding the Effects of Humidity on JewelleryEssential Cleaning Techniques for Brisbane Jewellery
How to Safeguard Your Jewellery from Environmental Factors
Best Practices for Caring for Costume Jewellery
The Importance of Regularly Inspecting Your Jewellery
Seasonal Care Tips for Different Types of Jewellery
Preventing Damage to Gemstones in Your Jewellery
Safe Storage Solutions for Your Jewellery Collection